Carlos’ Hawaiian Luau Birthday

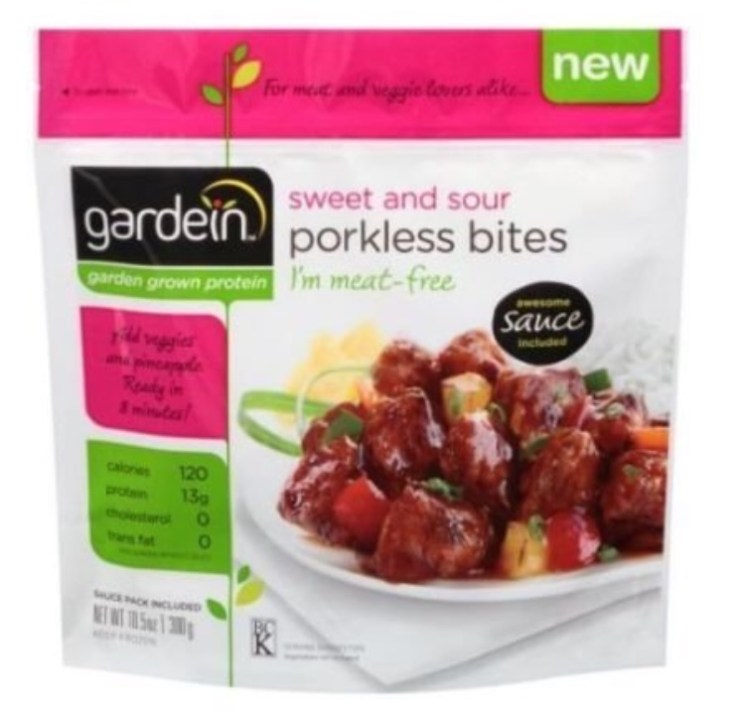
I love a good theme party, so when my husband suggested that we have a Hawaiian Luau party for his 31st birthday I was incredibly excited. Immediately, I began to brainstorm what kind of foods we would serve as the food is always my favorite part of any party. Carlos jokingly suggested that we roast a pig on a spit, much to my horror, but he ultimately decided on pulled pork sandwiches (with pork purchased at the store) and various sides. For an appetizer, we made bacon wrapped jalapeños stuffed with cream cheese, both a regular version and a vegetarian version. Accompanying the pulled pork sandwiches was a spaghetti salad as well as chips and salsa. For the vegetarians in the group, we used the Gardein sweet and sour porkless bites. I had never had this kind of sandwich before and I was amazed at how well the pork bites, coleslaw, and King’s Hawaiian rolls complemented each other. I loved it so much that we made it again for dinner last night!

IMG_8485
These are delicious and found at many grocery chains as well as on Amazon

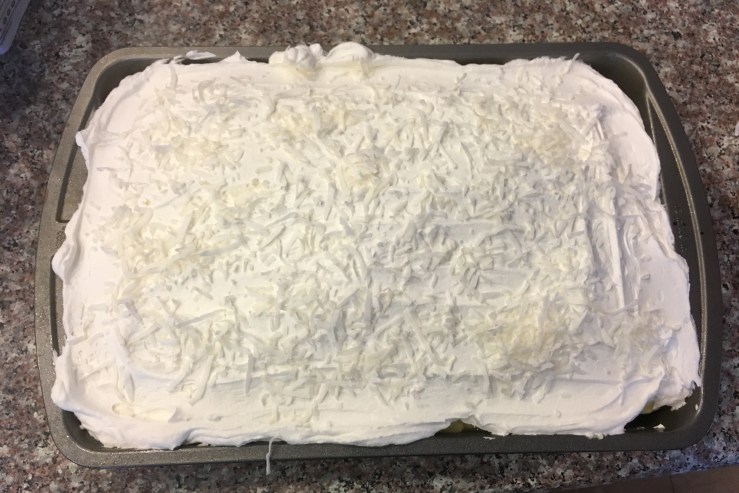
For dessert, I wanted to do a cake that was on theme, however, Carlos also wanted a special birthday cake. I decided to make two cakes as we anticipated having around 20 people, and we still ended up having mountains of cake left over! The on theme cake that I made was a Hawaiian Wedding Cake. This recipe came from one of the ladies who goes to my parent’s church. It is simple to make and turned out well, however I will adjust a few aspects of the recipe next time that I make it.

IMG_8402

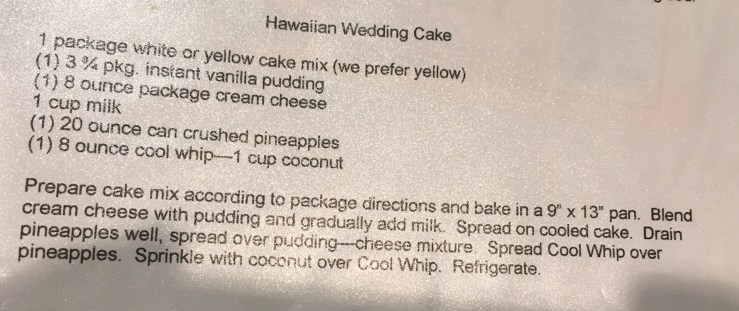
I followed the recipe, however I did find one direction confusing. Where it says “Blend cream cheese with pudding and gradually add milk,” I didn’t know whether it meant to blend the cream cheese with fully prepared pudding or to mix it with the pudding powder. My mother believed that it meant to mix it with the pudding powder, so that is what I did. It tasted fine, but wasn’t as smooth as I would have liked. In the future, I will mix the pudding powder with the milk first and then blend in the cream cheese. It is also important to make sure that the cream cheese is softened to at least room temperature. Another variation to the recipe that I will try in the future is to make it like a poke cake. This would allow the pudding and pineapple mixture to seep into the cake and have the flavors be better incorporated, rather than just having a cake layer and a toppings layer. Overall, the cake was quite tasty and I was very glad that I’d made it.

IMG_8456

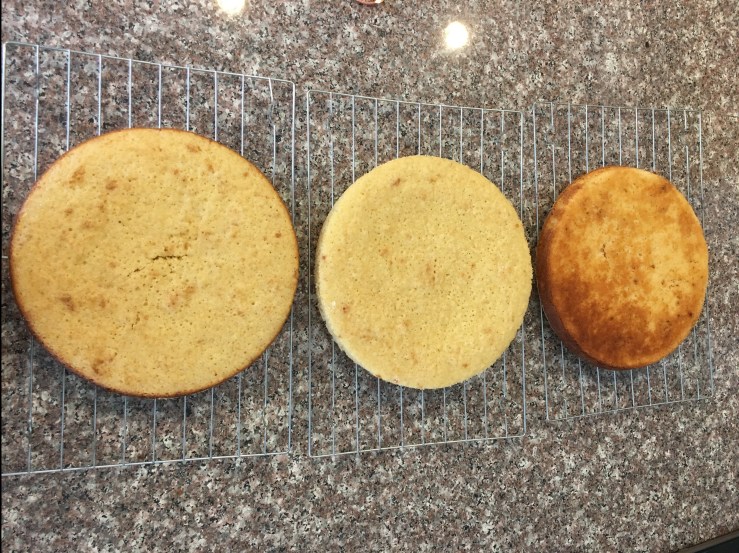
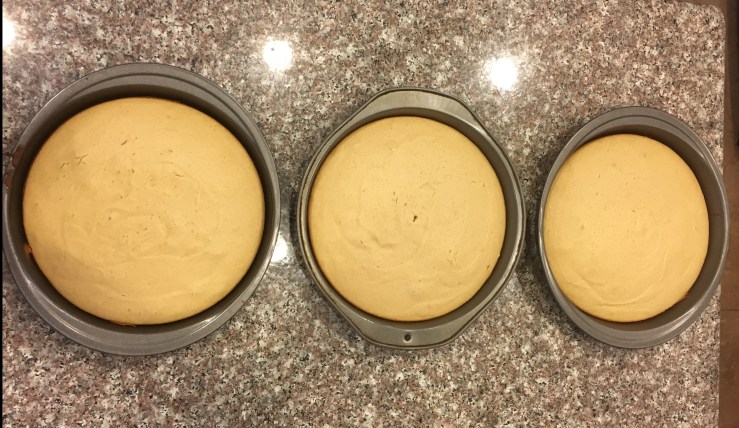
The second cake that I made was a Peanut Butter Cake with Peanut Butter Frosting from scratch. I found the recipe on the Life, Love, and Sugar blog and followed the cake recipe to a T. The cake batter itself was so delicious that I literally said “Screw, salmonella!” and licked several spatulas clean. The cakes came out evenly and while they cooled I moved onto the frosting.

IMG_8441

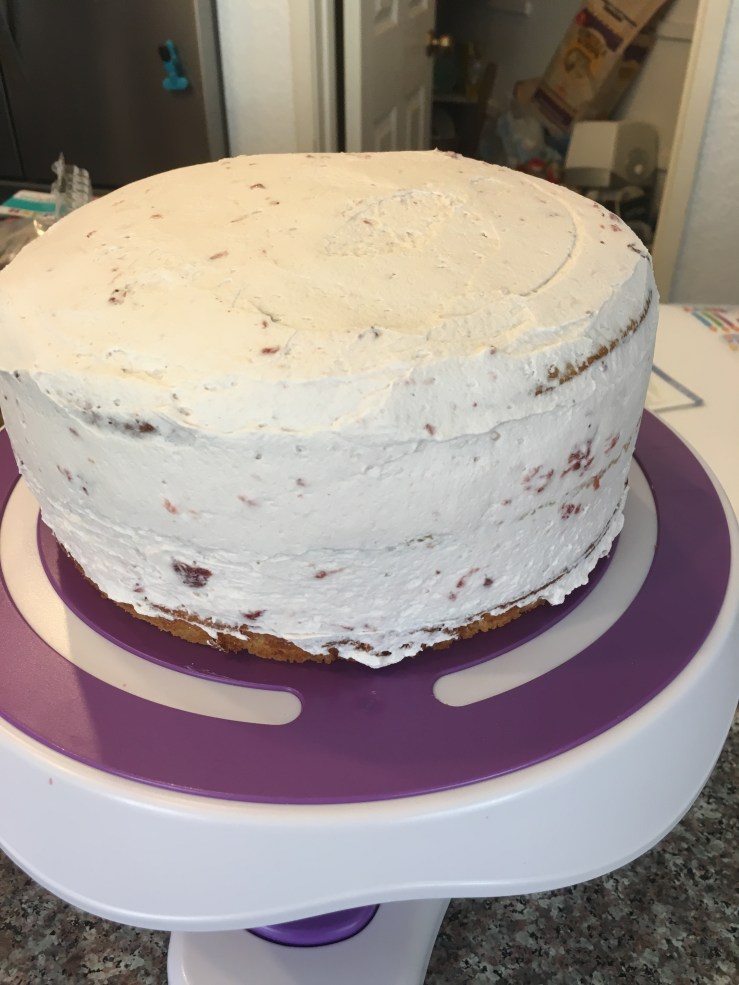
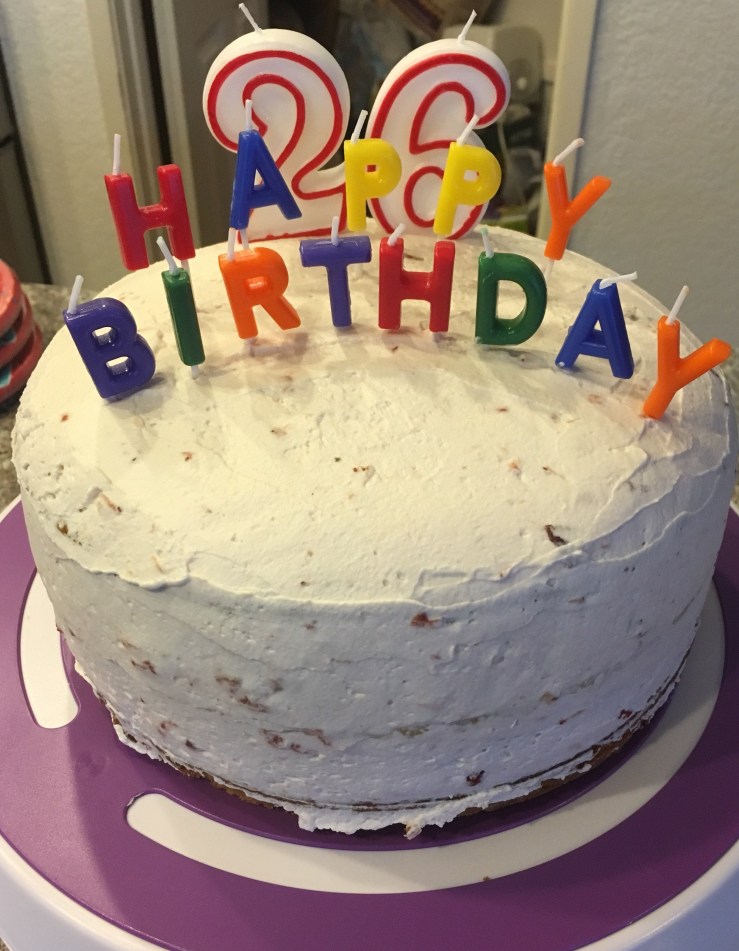
I was excited to make a peanut butter buttercream frosting for the first time, and it did not disappoint! The recipe called for 9 cups of confectioner’s sugar, however I only used about 7 cups and I used both additional milk and water to get it to the consistency that I wanted. This lightened the flavor and thickness of the frosting, yet it still packed major peanut butter flavor. Copious amounts of leftover frosting were eaten by myself, my husband, and a few of his friends. I’m still working on my technique when it comes to frosting and decorating.  I seem to learn new tips and tricks every time that I hope to implement on my next baking endeavors. I know that cutting off the rounded tops of the cakes will give a more neat and uniform look, but in the past when I’ve attempted this I’ve cut them unevenly, so I didn’t want to risk it this time. Any tips on how to do this well would be greatly appreciated! I loved using the peanut butter chips to decorate and the piping helped to dress up the cake as well. I didn’t end up making the ganache as it was already quite late once I finished the cake, but I would like to try it in the future. My husband loved the cake, which is really all that matters, but I was also happy with how it turned out. It is not as moist, in my opinion, as other cakes that I have made, but the explosion of peanut butter in each bite alongside the creamy frosting definitely makes this a recipe worth repeating!

IMG_8445

The full recipe for the Peanut Butter Cake with Peanut Butter Frosting can be found here: Loaded Peanut Butter Layer Cake

The Hawaiian Luau Birthday was a tremendous success, filled with laughter, food, and family. I am beyond thankful that I get to celebrate these special occasions with Carlos for the rest of our lives, and that he has family so close by to share in them with us.

Matching Picture

Strawberry Lemonade Cake

A few weeks ago, I found out that my brother-in-law would be in town to celebrate his birthday with family and friends. I immediately began to think about what kind of cake I could make for the celebration. Baking a cake from scratch is such an exciting and rewarding experience for me. I very much enjoy watching a myriad of ingredients turn into batter, and then into cake, and ending with a frosted masterpiece. I was doubly excited because making the cake gave me a chance to use my new rotating cake stand and bench scraper, wedding presents from my mother. I love trying out new recipes, although it can be slightly nerve-wracking when serving them to others after a first attempt, and I found this recipe for a Strawberry Lemonade Cake in the Tasty app. Overall, the process was simple and straightforward. I would definitely make this cake in the future, it met with rave reviews and was almost entirely gone by the end of the night! Making and dividing the batter into pans was a smooth process, the only note that I would make is that if you don’t have three of the same kind of pan the cakes may come out of the oven in varying colors. I had two darker pans, and the cakes in those pans were more browned than the cake made in the lighter pan. All cakes were properly baked and there wasn’t a difference in taste, simply in appearance. This isn’t an issue unless you plan on having a more naked style cake.

IMG_7922
The middle cake was less browned, but all three were well baked.


The frosting is made using whipping cream, which I typically prefer as it is lighter and not as sickly sweet as buttercream frosting can often be. It took a few minutes longer than usual for the heavy whipping cream to whip, but once it did I added the strawberry preserves and it was delicious. For anyone not used to using whipping cream, be careful not to over-whip or it could turn into butter rather than frosting! The light strawberry frosting was the perfect complement to the lemon cake and was quite easy to spread. I intend to use this frosting recipe for future cakes, but will try using different kinds of preserves. A chocolate cake with an orange frosting sounds like an excellent experiment! I let the cake have a slightly naked feel, but still used generous amounts of frosting on the top and sides. The layers of strawberries and frosting between each cake also made each bite super flavorful and moist.

IMG_7924
The frosting is generous on top and between each layer, with a slightly naked feel around the sides.


I’m still learning how to frost and decorate cakes, but I loved using the bench scraper and rotating cake stand. They were so helpful in keeping the frosting in even amounts around the sides. I had originally intended to decorate the top of the cake with sliced strawberries, but when it came time to blow out the candles it seemed unnecessary. If you do choose to do so, be careful not to decorate the top of the cake with the sliced strawberries in advance. If you do, the strawberry slices will leak juice all down the sides of the cake. The strawberries between each layer of cake will not do this as the frosting on the sides holds it in. I had so much fun making and frosting this cake. It is light, delicious, and tastes like a summer picnic!

IMG_7928
Simple and delicious! Sliced strawberries and lemon peel could be used to make a more elaborately decorated cake.


I take no credit for creating this recipe. It can be found here: Strawberry Lemonade Cake by Tasty

Simple Vegetable Pasta Sauce

I’m not much of an inventive cook or baker. This is something that I would love to improve at, however, I’m currently a strict follower of recipes. I’m always amazed by those who can whip something up in the kitchen without meticulously measuring ingredients and following step-by-step instructions. My tomato vegetable pasta sauce is the only recipe I’ve created on the fly, and even though it is super simple it is still one of my favorite things to make for dinner. I came up with this recipe a few years ago when I wanted pasta but was out of canned marinara sauce. It is a very basic recipe and allows for a lot of variation. It serves 4-6 and takes about an hour from start to finish. I often make a hearty version, but it can be made to be more like a traditional marinara sauce by using a blender, food processor, or immersion blender after it has finished cooking.

IMG_8047

To begin, I sauté 3/4 of a large or one whole medium yellow onion in 1.5 tablespoons of olive oil over medium heat. I use a large pan with high sides as the recipe makes a decent amount. I then add a lot of chopped garlic. I used the entire packet shown in the picture above, roughly 8-9 cloves of varying sizes. I love garlic and still didn’t find it to be overpowering in flavor. While those are sautéeing, I chop up 4 medium sized carrots and then add them to the onions and garlic. The carrots take the longest to soften, so it’s important to get them into the pan quickly. After the carrots, I chop and add 2 large zucchini to the mixture. You could also use yellow squash if you prefer. Then, I chop up the two medium tomatoes and add them to the pan.


IMG_8073

Once all of the fresh vegetables are in the pan, I add two cans of Italian diced tomatoes. You can also use regular diced tomatoes, you will just need to add extra seasoning. The sauce should begin to bubble nicely. I add generous amounts of pepper, additional Italian seasoning, oregano, basil, and a little bit of salt. This is all to taste, if you’re unsure of how much to add start with a smaller amount and you can add more if necessary. Once all of the seasonings are in, cover the pan and lower the heat to halfway between medium and low. Allow it to simmer for approximately 45 minutes, stirring occasionally. Once the carrots are tender, the sauce is ready!

IMG_8048

I enjoy it with whole wheat pasta and a sprinkle of parmesan cheese. The sauce is flavorful, full of vegetables, and, in my opinion, much better than canned pasta sauce! I’ve also made this using only tomatoes, onions, garlic, and seasonings if you’re in the mood for a tomato basil sauce. The recipe is pretty much the same, however you’re adding a much higher amount of fresh tomato instead of the zucchini and carrots and it doesn’t require as long to simmer. This is one of my comfort foods and I can’t wait to make it again this week!